The Practicality of Pin Gages for Tube ID Inspection
Here at Metal Cutting Corporation, for many applications it is not enough for us to create parts to a customer’s specified tolerances. A big part of our quality control is to also make sure we can measure parts effectively and provide proof positive that they are, indeed, as specified.
The method chosen — and the type of tool used — for determining whether a part meets requirements can make the difference between meeting specs the first time and having to do additional work, which in turn increases costs and creates delays for all.
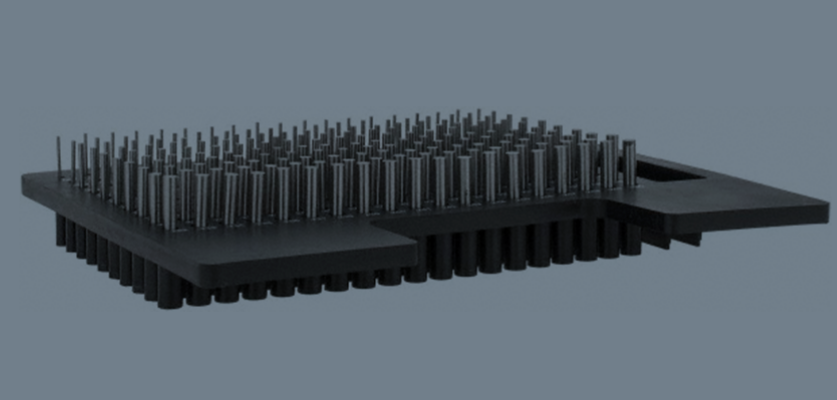
As a producer of very small metal parts including short lengths of small diameter tubing, we often use very small gages known as pin gages to measure the inside diameter (ID) of parts we make from tubing.
Also known as pin plug gages, these small gages offer a simple “pass-fail” method of inspection — allowing a user to quickly assess the ID of very small diameter tubing to a specific plus or minus tolerance.

The X-Y-Zs of Pin Gages
There are different classes of small gages — Y, Z, ZZ, XX, XXX, and so on — with different tolerances attached to them. The gage tolerance is based on the tolerance allowed in the manufacturing process of each pin.
For example, for gages ranging in size from 0.001” to 0.08250”, Class Z gages have a tolerance of no more than 0.0001”, while Class X gages have a tolerance of no more than 0.00004”.
The smaller the part, the more the gage tolerance matters. A tighter tolerance pin gage (such as Class XXX) is straighter and more uniform throughout the length of the pin. That makes it well suited to checking the ID of a small diameter tube that itself has a very critical tolerance.
The Limits of Pin Gage Measurement
For most short tubing with an ID from 0.005” to 0.200”, pin gages typically yield acceptable results that can be correlated. However, a pin gage can only assess one limit of tolerance, not both plus and minus.
It is also important to remember that if you require an exact measurement of a finished part’s diameter, these small gages are not going to meet your needs.
That is because a pin gage is a go/no-go method — meaning it is not designed to provide a measurement value for individual characteristics of the part. Instead, in simple terms, if the go gage can be inserted into the ID but the no-gage cannot, the specifications have been met.
There also comes a certain point where even the smallest of small gages may not be physically feasible for determining sizes and tolerances.
For example, with a tube ID of less than 0.004”, go/no-go pin gages are simply not practical. That’s because it would be very difficult to insert a delicate gage pin into such a small diameter tube without bending the tube or damaging the pin itself.
In addition, pin or plug gages are impractical for inspecting very long cylinders, such as small diameter tubing that is several feet in length and requires a consistent ID throughout.
Alternatives to Small Gages for ID Inspection
In instances where small gages are not appropriate, we often turn to other, more sophisticated methods for inspecting IDs, including tools such as smart scopes and various optical comparators.
Generally, these methods use a sensor to measure various points around the circumference and inside a tube, to calculate whether the average ID is within tolerance. These optical measurement methods are more precise than pin gages and can be used to measure circles, arcs, and more complex shapes.
However, these methods are more costly than using a pin gage and do have drawbacks. For example, optical tools cannot verify if the ID is consistent throughout the tube, and accuracy can be affected by the surface finish of the part being measured.
In addition, optical measurement cannot be used to verify IDs on very long parts, because the parts cannot be positioned so that the light will go all the way through. Rather, the method can only be used on short parts that can be placed on the glass of the measuring system.
Don’t Skip the Inspection Step in Your Specs
Understanding the fundamentals of part measurement and the use of small gages and other inspection tools is crucial to making informed decisions about your specifications.
Just as you put a lot of time and effort into determining part dimensions and tolerances, you should also carefully consider your options when deciding how you will determine whether finished part meets your needs.
In addition, making sure you and your partner know and agree up front what will be measured, and how, is a critical step in successful parts manufacturing.


