What do flat lapping services accomplish?
When people tour the Metal Cutting facilities to learn about what we do, they’re often surprised to see we have three types of lapping equipment. But the real surprise is that so many people are not familiar with the profoundly simple (and beneficial) process of precision flat lapping.
While a lapping machine does have moving parts, they are plates that rotate like the teacups in an amusement park ride. What makes the process simple is the plates methodically spin in a single plane — not multiple axes — with the top plate going in one direction and the bottom plate, the other.
But what makes flat lapping services so beneficial? Let’s take a closer look.
The Basics of Lapping
Lapping is a controlled mechanical sanding or polishing process involving an abrasive between two surfaces that are rubbed together. The process is generally used to create an accurate surface finish.
For Metal Cutting and our customers, the primary goal of lapping is to achieve a very smooth, flat surface. However, lapping can also be used to obtain a domed surface, such as a convex lens or mirror. (More on that below.)
Lapping can be applied to a wide range of materials, including metal, glass, ceramic, plastic, or silicon substrate. Thanks to the precision with which material can be removed, the process can produce surface finishes in the nanometer (0.001 μm) range.
Advantages of Precision Flat Lapping
Precision flat lapping is often talked about alongside double disk grinding. That’s because either process can be used for metal parts requiring tight tolerance for surface finish, flatness, parallelism, or thickness.
However, flat lapping services are most often used on parts that require tight control of thickness and parallelism. The process produces dimensionally accurate flat parts to high tolerances, generally less than 2.5 μm uniformity.
Precision flat lapping can also be used to correct surface irregularities and remove subsurface damage caused by sawing or grinding.
The parts being lapped will mirror the shape of the lapping plates. So, precision flat lapping requires the plates to be maintained in extremely flat condition (typically less than 0.004 mm). This helps to ensure that the parts being lapped will themselves be flat.
Flat lapping services are especially good for a number of applications. For instance, lensmakers use specialized lapping machines to produce surfaces that are flat to better than 30 nanometers (0.030 μm).
Precision flat lapping is also critical to semiconductor production, providing the precision required for handling very fragile, thin components. There are semiconductor-grade lapping machines and specialty mounting carriers designed for wafers including LED, sapphire, silicon, compound substrates, and fiber optics.
One Sided vs. Two Sided Lapping
Depending on the material and application for the part, precision flat lapping can be one sided or two sided.
Think of one-sided lapping like polishing a car: An abrasive is applied to a softer material and used to polish the surface of a harder material. Usually the part is held in place with a ring or other device, weighted down, and ground as an abrasive slurry is fed onto a rotating lap plate.
With two-sided precision flat lapping, material is removed from two surfaces of a part — the top and the bottom. It is accomplished by applying pressure as the part and abrasive are rolled around between two lapping plates.
Where the application of weight might damage delicate materials, a jig is used to hold the parts in place. This allows for precise positioning of the part and adjustment of the load during lapping of very small parts — say, from 3” (76.2 mm) to 0.118” (3 mm).
Lapping for Parts That Are Domed, Not Flat
Of course, lapping has other goals besides achieving flatness. In fact, the process can be used for creating lenses and other parts that require a slender, uniform dome shape.
Convexity is achieved by using a lapping plate conditioned so that it is concave and will create a convexly domed part that mirrors the shape of the plate. Producing the correct dome shape and thickness is a time-consuming process, often involving a lot of trial and error in the development stage.
How critical is precision when you are lapping domed parts? Consider the Hubble Space Telescope, a $2 billion project that turned out to have a flaw in its optical system. Specifically, Hubble’s primary mirror was just slightly the wrong shape.
A tiny flaw — about 1/50 the thickness of a sheet of paper — was enough to create a spherical aberration that distorted the telescopic images. While scientists were able to correct for the flaw, it was a costly lesson in dome uniformity.
Additional Benefits of Lapping
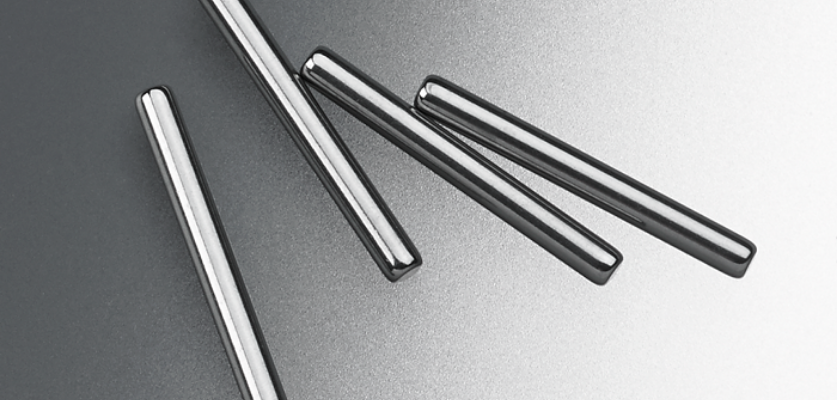
In addition to creating accurately smooth, flat surfaces, lapping can be used to achieve highly polished part ends and very tight length and thickness tolerances.
For instance, Metal Cutting can utilize lapping to move the decimal point on a length tolerance from ±0.0010” (0.0254 mm) to ±0.00010” (0.00254 mm). For applications that require geometry, we can take a part that is a trapezoid and use lapping to turn it into a rectangle or parallelogram.
In addition, our lapping services can achieve an end finish of Ra 2 microinch (0.050 μm) on both solid parts and tubes. That includes thin wall tubing and long length components.
Is Lapping Right for Your Application?
Deceptively simple and yet precise, lapping can be valuable for applications requiring:
- Smooth, flat surfaces
- Tight control of thinness
- Highly polished ends
- Tight length tolerances
- Parallelism
Through a thorough understanding of your application and its parameters, you can decide whether precision flat lapping or some other technique is the best match for your requirements.


